
Step 1
Create your account
Create your account
Sign up with Gmail and confirm the email code, or use Google when configured. Select Mobile phones and accessories and your branch. The trial starts automatically.
How to use ZAIN’S for Mobile phones and accessories: Sell phones and accessories, track serials and installments, and manage repair tickets.
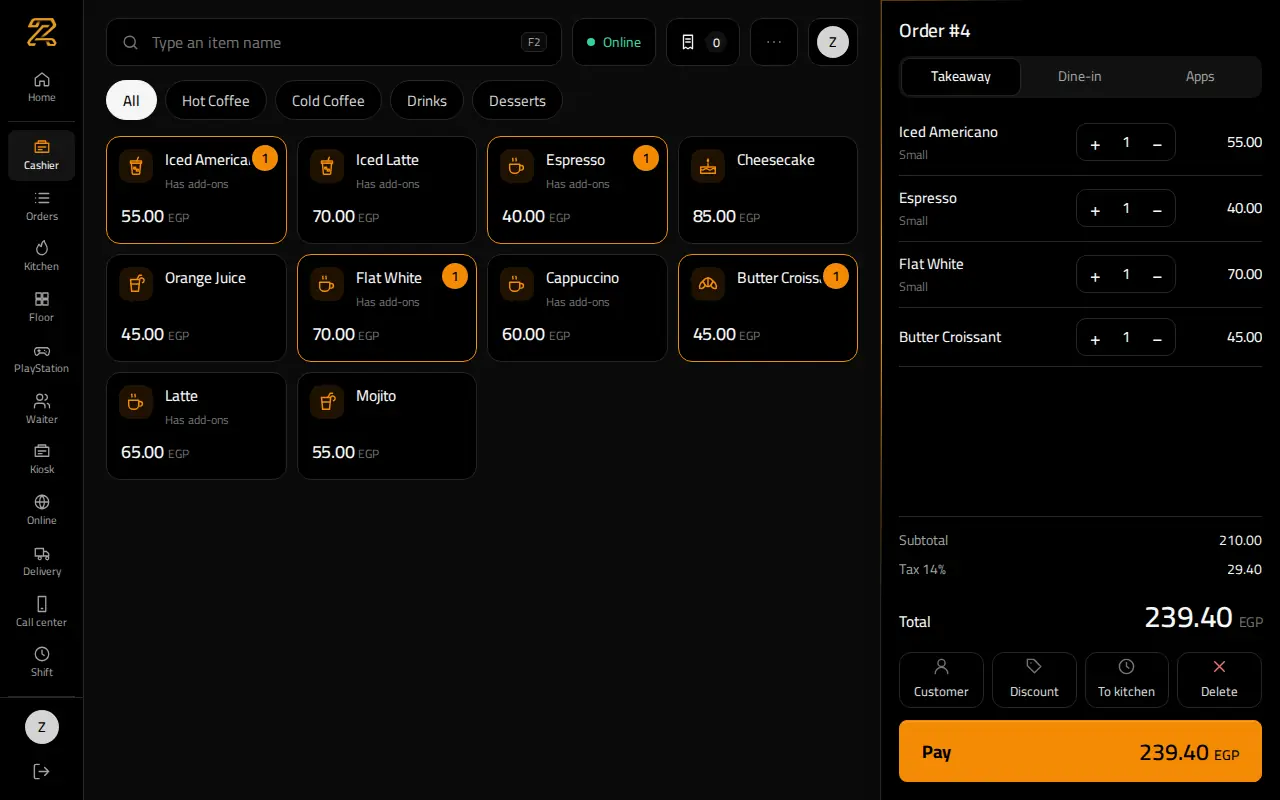
Create your account
Sign up with Gmail and confirm the email code, or use Google when configured. Select Mobile phones and accessories and your branch. The trial starts automatically.
Set up the business and payment
Review tax, payment methods, receipt details and staff discount limits in Settings. Test the printer on the device that will use it.
Devices and accessories
Add categories, names, prices and the correct units. Example: A phone identified by its IMEI. For imports, download the template and test a small set first.
Staff accounts and sign-in
The owner creates each employee account and assigns a role and branch. Staff sign in with a phone number and password, or a PIN on a trusted device. No phone verification code is required. The owner manages staff password recovery.
Sell phones and accessories, track serials and installments, and manage repair tickets.
Set up the required items, prices and customer details before confirming.
Record the actual status, quantities and any payment, using the appropriate screen.
Check the final bill, payment method and remaining customer balance.
Payments and shift closing
Check the payment method before confirming the bill. At shift end, count actual cash and submit it in Shift. Managers review differences according to permissions. Start returns from the original invoice and record a reason.
Owner follow-up
Start with the dashboard, then filter reports by period and branch. Sales, collections, costs and returns have different meanings. A credit sale does not mean cash was received today.
Trial, subscription and branches
Review the duration, price and active branch count in Subscription before requesting payment. The main branch starts automatically at signup. Only the platform administrator can add, edit, activate or deactivate branches. Contact support for an additional branch and its price. Branch prices apply per active branch. Pro activation does not itself record a payment. Available features depend on the plan and permissions.
Working during an internet outage
Open checkout online first. Supported transactions wait in this device’s local queue during an outage. Review synchronization after reconnection. Do not clear browser data or manually repeat pending sales. Approval and balance checks still apply.
Repair tickets and deposits
Record the customer, device, serial, fault and estimate. Update parts, labor and status. At handover review the final price, warranty, available deposit credit and payment method.
Stock and suppliers
Set tracked products and opening quantities. Record receipts, counts, waste and transfers in their own screens with clear reasons.
Serials and warranty
Record serials on receipt and choose the actual unit at sale. Keep its invoice and warranty date and verify the correct unit for returns or repairs.
Selling units and conversions
Set a base unit and each conversion factor. Test one sale and check the stock movement before using the configuration widely.
Staff commissions
Set staff percentages and choose the actual seller or service provider. Review net commissions after returns in staff reports.
Installments and due dates
Record the customer, down payment and schedule. Record each collection with its receipt and review overdue amounts before changes.
Wholesale and customer prices
Configure wholesale or customer-specific prices. Select the customer before payment and review floor prices and discount permissions.
Price quotes
Prepare items and prices for a named customer and set validity. Convert an agreed quote to a sale and review payment. A quote is not a paid invoice.
Online orders
Review the public link, offered items and settings in Online. Confirm incoming orders and follow the workflow for your activity. Online payment needs its own configured account.
Customer credit and outstanding balances
Customer credit is shared across their transactions; a deposit is not automatically reserved for one ticket. Credit sales require an identified customer, an allowed limit and an enabled method. Record collections in the customer account.
No results for this word for the selected role. Try another word or show all.
All activity guides